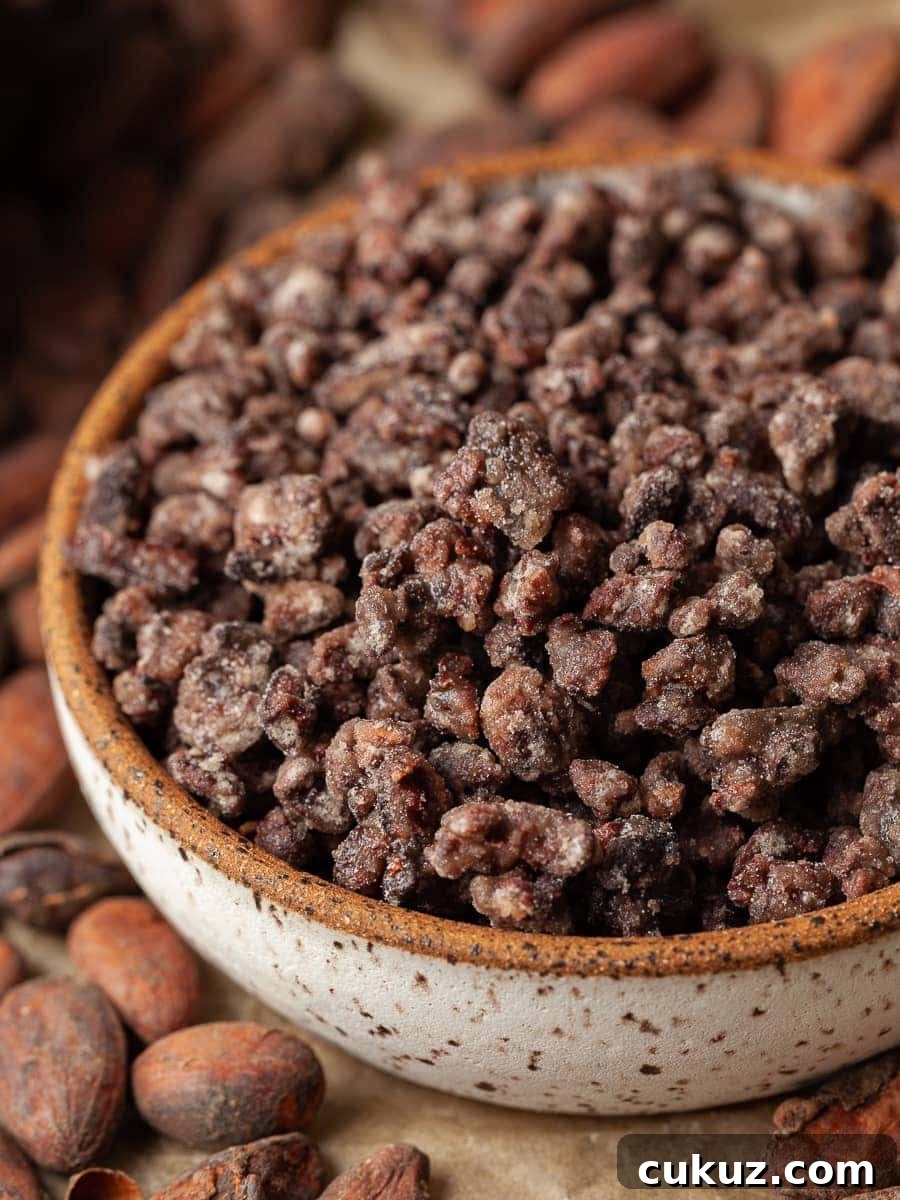
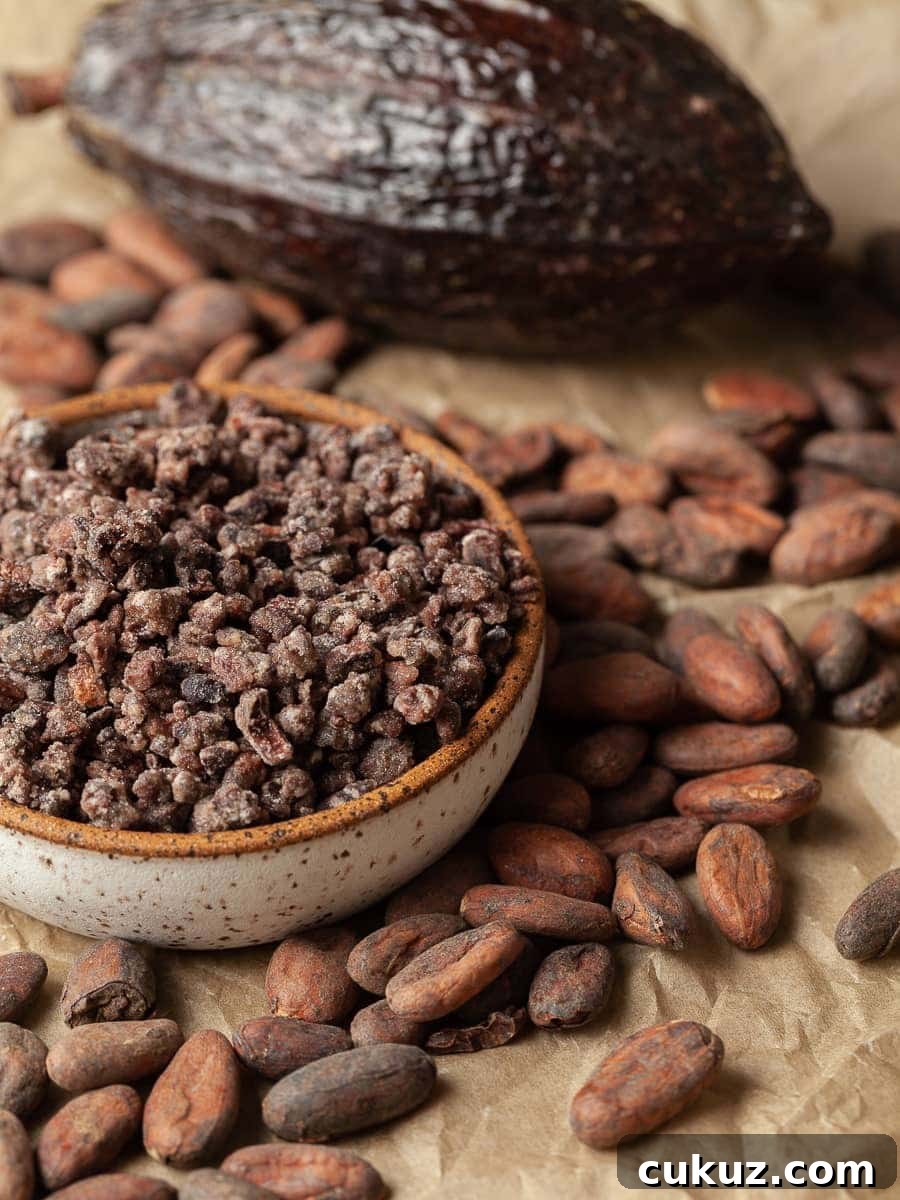
Candied cocoa nibs are a delightful way to add concentrated chocolate flavor and a satisfying crunch to desserts and baked goods. These small pieces of roasted, chopped cocoa beans deliver an intense chocolate note and a slightly smoky undertone that contrasts nicely with sweet batters and creamy textures. Fold them into gluten-free chocolate chip cookies, sprinkle them over pancakes, or use them as a crunchy accent on meringues and other confections to add depth and texture.
While raw cocoa nibs are tasty on their own, coating them in a thin layer of caramelized sugar enhances both flavor and crunch. This method is similar to preparing candied nuts and requires only a few simple ingredients. Once prepared, candied cocoa nibs keep well at room temperature for weeks when stored in an airtight container.
Recipe Ingredient Notes
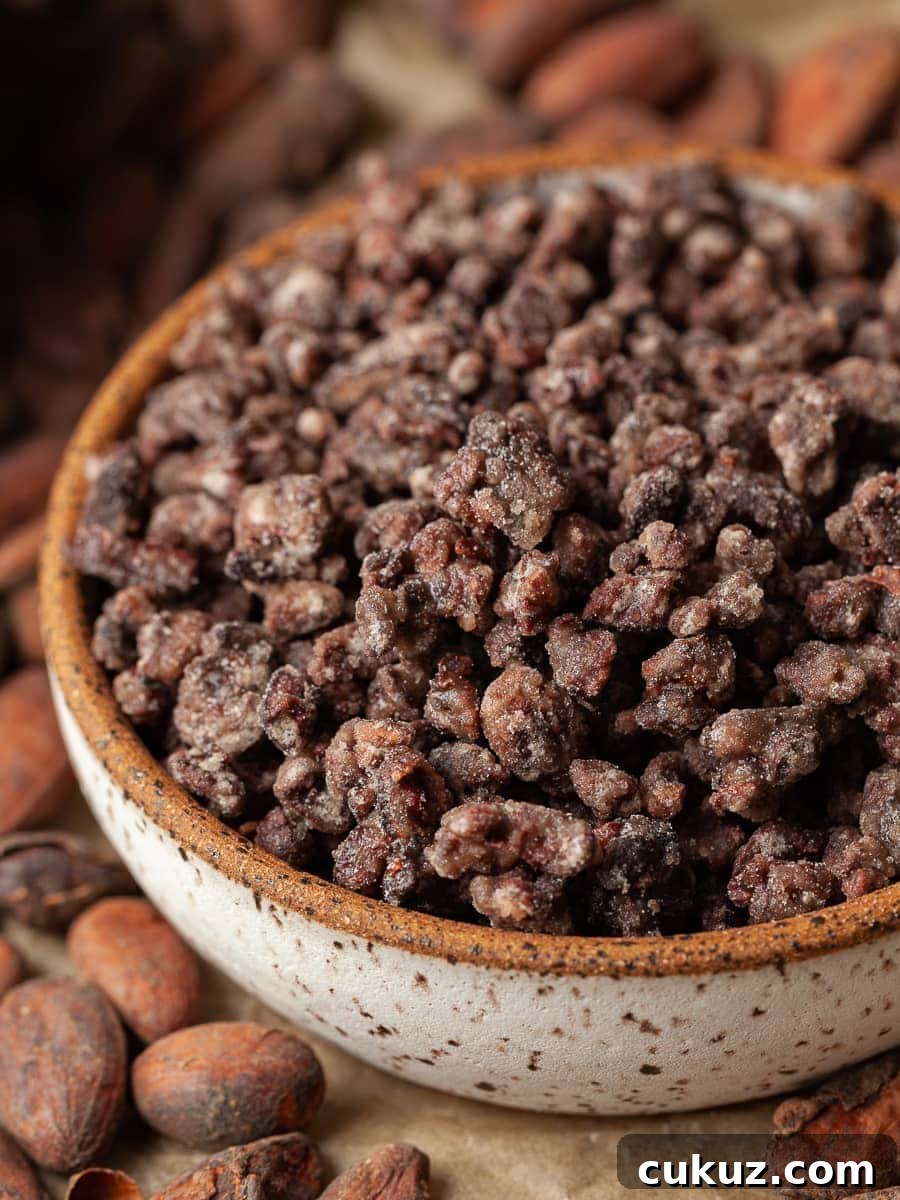
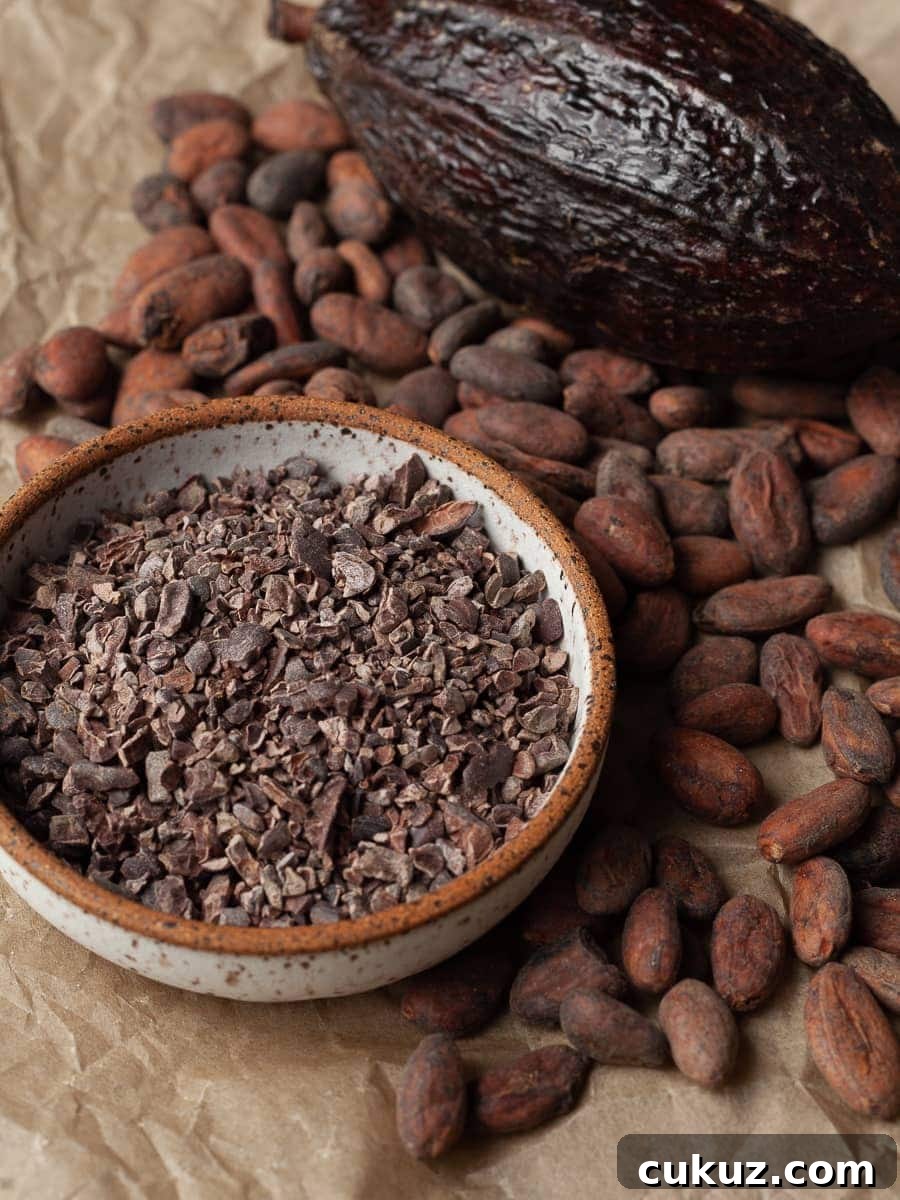
Cocoa nibs: Look for raw cocoa nibs at grocery stores, health-food shops, or online retailers. They are sometimes available at discount home goods stores as well. Choose raw nibs for this recipe for the best texture and flavor.
Sugar: This recipe uses granulated cane sugar. Sugar substitutes are not suitable because the recipe depends on sugar dissolving, crystallizing, and caramelizing to create the characteristic crunchy coating. The sugar is applied in two stages to build a crisp, even coating on the nibs.
Vanilla extract: A modest amount of vanilla extract brightens the caramel coating. Use your preferred vanilla extract rather than vanilla paste for this preparation.
Tools needed
Use a heavy-bottomed pan large enough to hold about 120 grams of nibs and tall-ish sides to reduce splatter. A well-seasoned sauté pan or cast-iron skillet is ideal because some nonstick pans are too slippery for sugar to properly crystallize. You will also need a heatproof wooden spoon for stirring and a cookie sheet lined with parchment for cooling.
Important note about pans: If your nonstick pan is very smooth and slippery, the sugar may not crystallize properly and can burn or form a brittle rather than a crisp coating. A cast-iron pan or a frequently used sauté pan provides better results. Ceramic pans have not been tested with this method.
How to make candied cocoa nibs
Step 1: Line a cookie sheet with parchment paper and set it aside so you can quickly transfer the finished nibs from the pan.
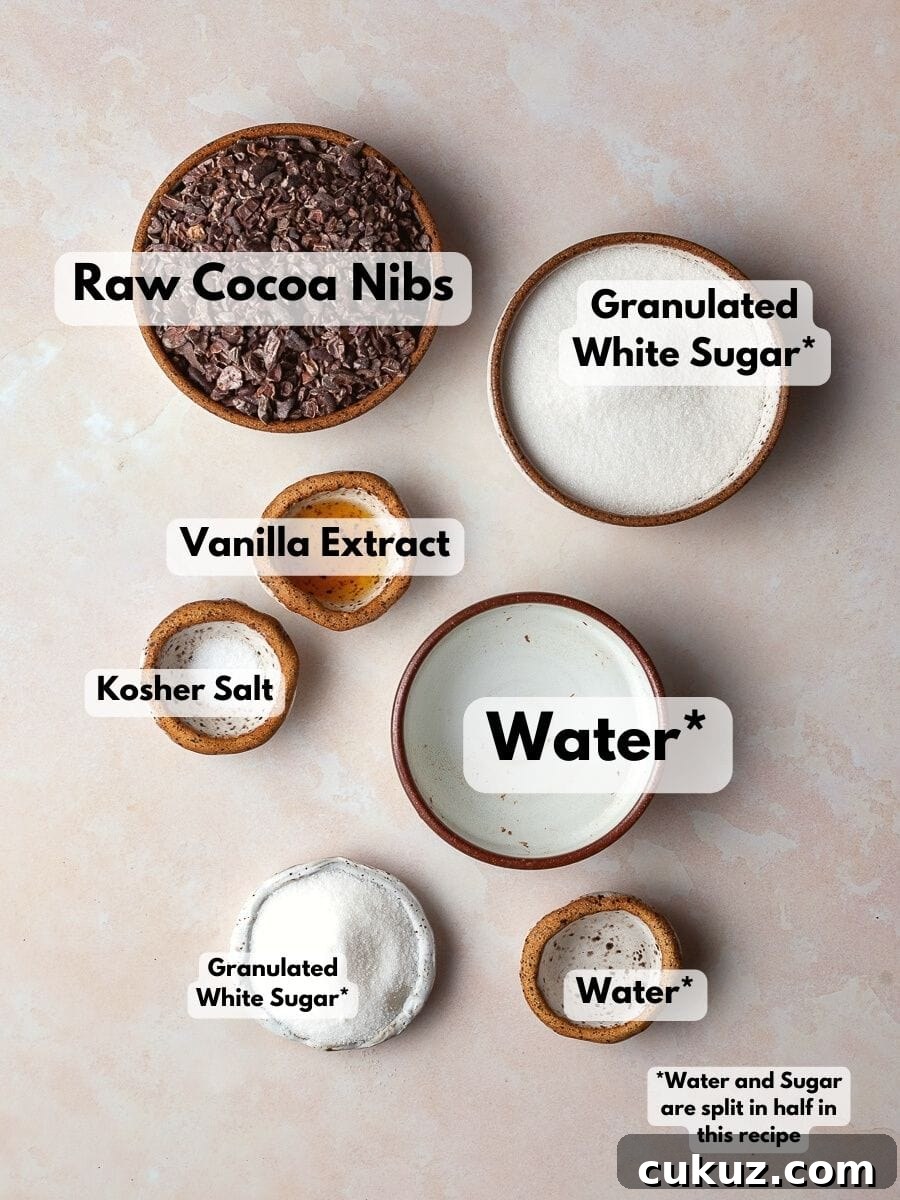
Step 2: Combine 40 grams of water, 100 grams of granulated sugar, and a small pinch of kosher salt in a heavy-bottomed saucepan. Gently heat and stir until the sugar fully dissolves.
Step 3: Add 120 grams of raw cocoa nibs to the saucepan. Increase the heat to medium-high and stir constantly with a wooden spoon. Continue stirring until the liquid reduces and the mixture begins to look like a syrup coating the nibs. This stage can take about 10–15 minutes. You may notice a pleasant chocolate aroma as the nibs cook in the syrup.
Step 4: As the water evaporates, the sugar will crystallize and cling to the nibs and the pan sides. The coating will appear dry at first as the sugar recrystallizes and begins to caramelize on the bottom of the pan.
Step 5: Reduce the heat to medium-low and add the remaining 25 grams of granulated sugar, an additional 10 grams of water, and 1/2 teaspoon of vanilla extract. Keep stirring to dissolve and recoat the nibs until they become shiny but remain slightly lumpy.
Step 6: Remove the pan from the heat and immediately spread the coated nibs onto the prepared parchment-lined baking sheet using a wooden spoon or two spoons to separate them into an even layer. Small clumps are fine and will remain easy to break apart once cooled.
Storage
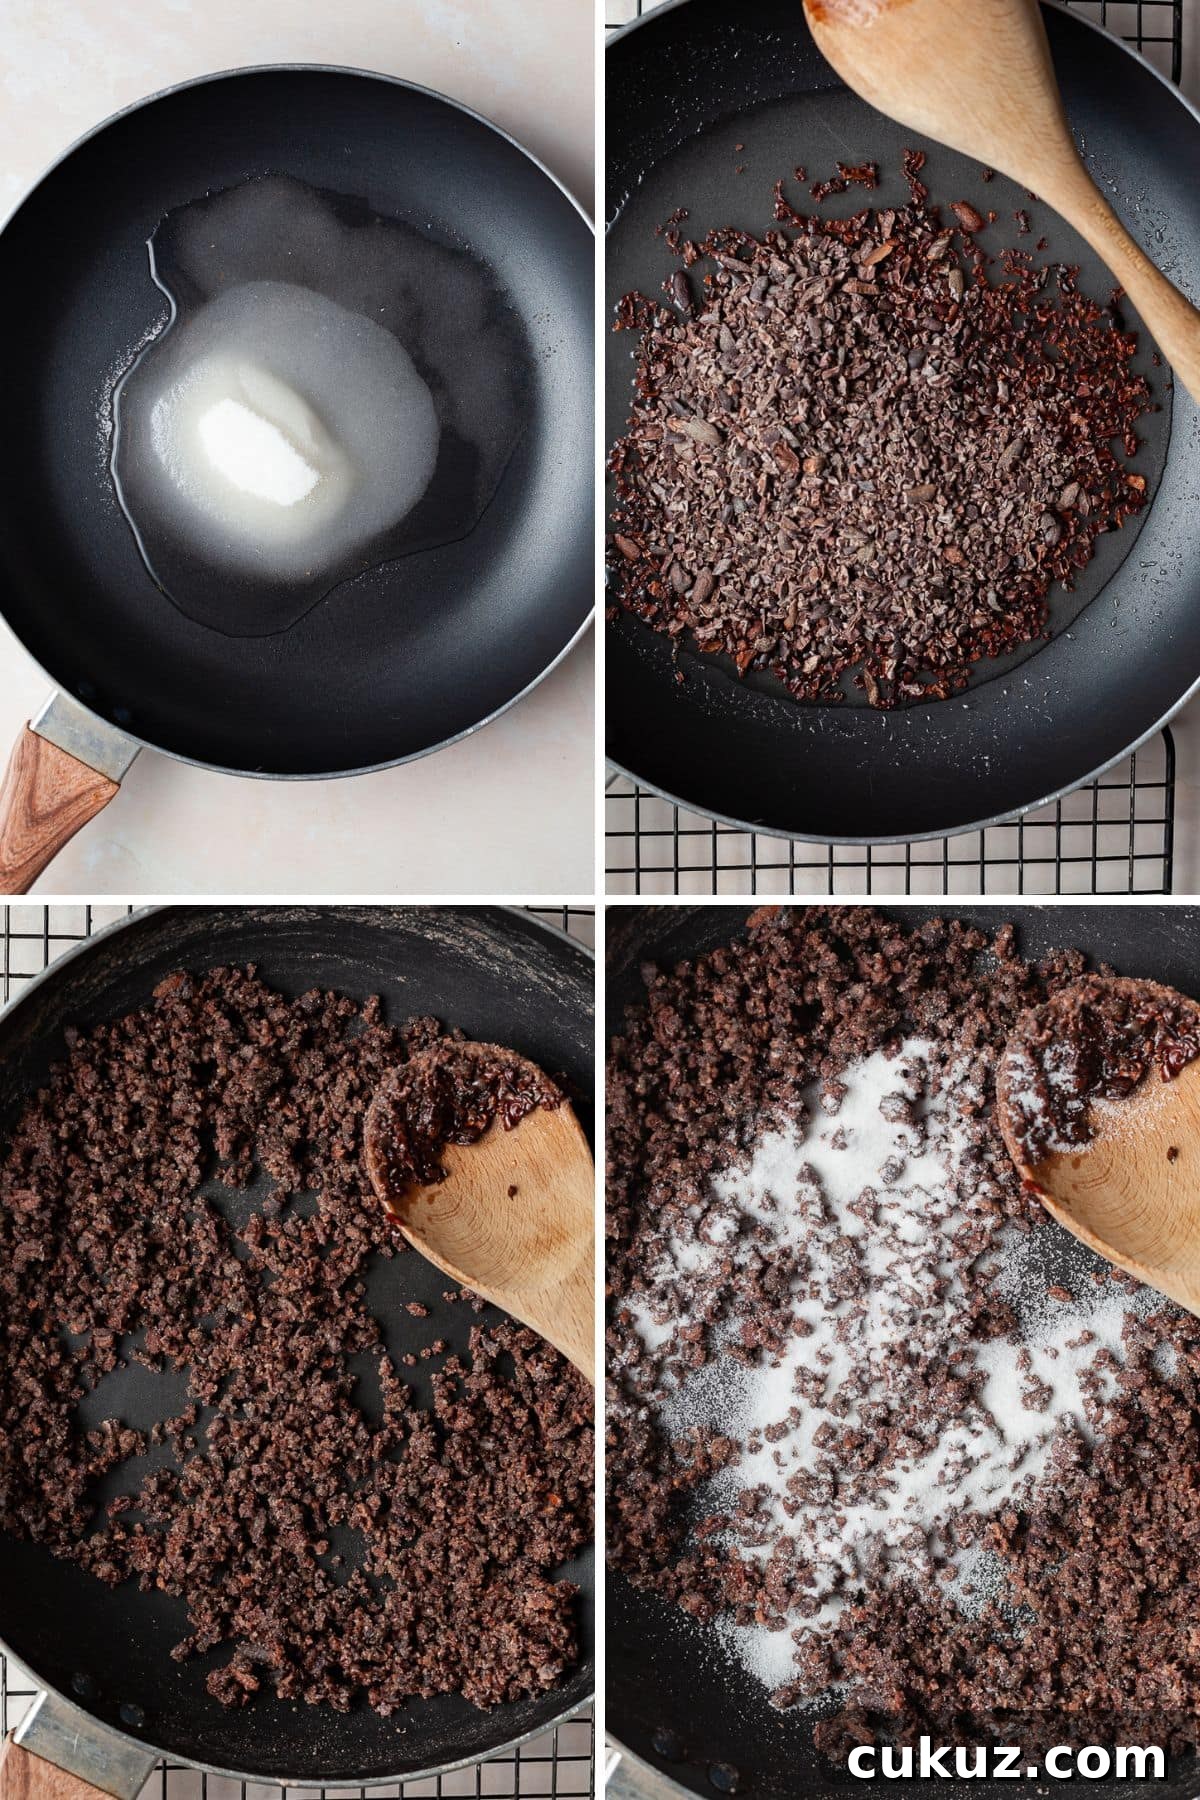
Store candied cocoa nibs in an airtight container at room temperature for up to two months. Do not freeze them, as condensation and moisture from freezing and thawing will soften or dissolve the sugar coating.
What can you do with cacao nibs?
Candied cocoa nibs add flavor and texture to a wide range of treats. Mix them into cookie dough, fold them into brownie batter, scatter them over ice cream, or use them as a decorative, crunchy topping for homemade chocolates and candies. They also make a great garnish for yogurt, oatmeal, or baked goods where you want an extra burst of chocolate intensity and crunch.
FAQ about candied cocoa nibs
No. Cocoa nibs are pieces of the roasted bean and provide texture and flavor, while cocoa powder is finely ground and used primarily for flavor and color. They are not interchangeable in recipes.
Yes, raw cocoa nibs are safe to eat. They have a naturally bitter, slightly acidic taste and a firm, crunchy texture. Candied nibs mellow the bitterness and add sweetness and crunch.
Use nibs in oatmeal, smoothies, ice cream, cookie batters, or as a finishing crunch on candies and desserts. Candied nibs are especially useful as a decorative and flavorful garnish.
Note about salt in my recipes
I typically use diamond-style kosher salt in my recipes. If you use a different brand or type of salt, especially table salt or a finer-grained kosher salt, adjust the amount accordingly because salt granule size affects perceived saltiness.
Baking in grams
I prefer weighing ingredients by grams because baking by weight is more accurate than measuring by volume. A digital kitchen scale improves consistency and precision, which is especially helpful for gluten-free baking where ingredient densities differ from wheat-based flours.
Note about ovens and oven temperatures
All recipes are developed using a conventional oven with racks placed in the middle position for even heating. If you bake in a convection oven, reduce temperature and monitor baking times closely since convection can speed up browning and drying.
Substitutions and modifications
Altering ingredients or techniques may affect the final texture and flavor of this recipe. If you adapt the method, expect potential changes in appearance and crunch. The instructions here reflect tested steps for achieving a crisp, evenly coated candied nib.
More recipes to try
- Gluten Free Chocolate Bundt Cake

- Gluten Free Chocolate Banana Bread
- Gluten Free Chocolate Zucchini Cake
- Gluten Free Chocolate Chip Cookies


📖 Recipe
Candied Cocoa Nibs
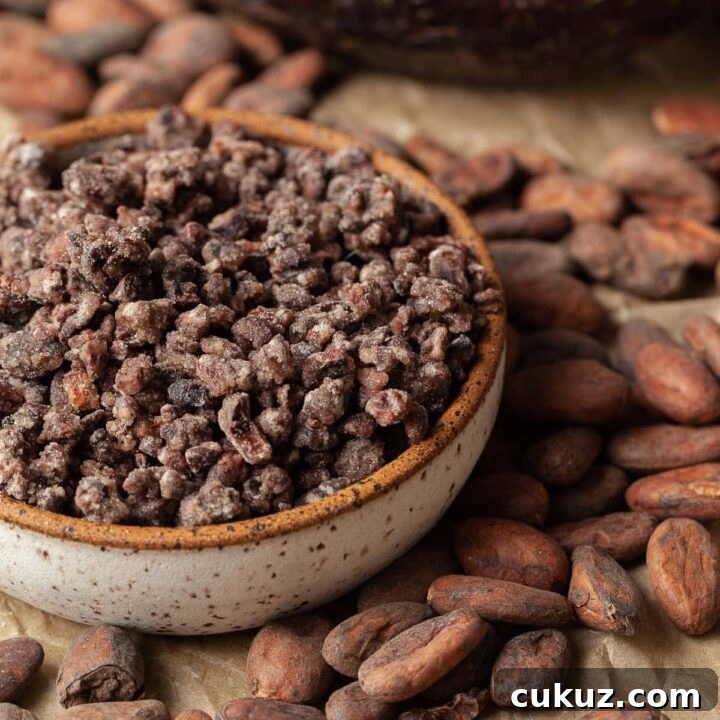
Candied cocoa nibs are an easy, crunchy way to elevate desserts and snacks with intense chocolate flavor. This small-batch candy uses a simple syrup technique to coat nibs in a crisp, caramelized sugar shell.
10 minutes
25 minutes
1 hour 40 minutes
2 hours 15 minutes
Ingredients
Candied Cocoa Nibs
- 40 grams water, divided
- 100 + 25 grams granulated sugar, divided
- 120 grams raw organic cocoa nibs
- ¼ teaspoon kosher salt (for the first stage)
- ¼ teaspoon kosher salt (for the second stage)
- ½ teaspoon vanilla extract (added near the end)
- ½ teaspoon vanilla extract (additional, if preferred)
Instructions
How to make candied cocoa nibs
- Line a cookie sheet with parchment paper and set it nearby for a quick transfer when the nibs are finished.
- Combine 40 grams water, 100 grams sugar, and ¼ teaspoon kosher salt in a heavy-bottomed saucepan. Heat gently until the sugar dissolves.
- Add the cocoa nibs, raise the heat to medium-high, and stir constantly with a wooden spoon until the mixture reduces into a syrup that coats the nibs, about 10–15 minutes.
- When the water has evaporated and the sugar crystallizes, the nibs will develop a dry, grainy coating and you will notice caramelization on the pan bottom.
- Lower the heat to medium-low. Add the remaining 25 grams sugar, the remaining water, and ½ teaspoon vanilla extract. Continue stirring until the nibs become shiny but still slightly clustered.
- Remove from heat and spread the nibs on the prepared baking sheet in an even layer. Allow to cool completely before storing or using.
Notes
Storage: Keep candied cocoa nibs in an airtight container at room temperature for up to two months. Avoid freezing to preserve the sugar coating.
Pan tip: A seasoned cast-iron or well-used sauté pan generally yields the best results because the sugar can crystallize properly. Very slippery nonstick pans may prevent proper crystallization and lead to burnt sugar or brittle.
Nutrition Information:
Yield:
12
Serving Size:
1
Amount Per Serving:
Calories: 100
Calories are an estimate.